How (and Why!) to Add a Video to Your Listing
Our MLS members get some of the best self-branding opportunities available on the market, including 2 separate options to add multimedia content. The first is the virtual tour, where you can add an external link. If you add your listings to your website or use a service like Immoviewer to create immersive virtual walkthroughs, this is the place to put them.
Today, we want to talk to you about a marketing tool our top agents are using to engage potential buyers and get a higher price for their listings: video.
Promoting your property with a video can capture aspects of a home that just don’t fully shine in photos. In addition, videos are more engaging than still photos - that’s why many social media sites prioritize showing your friends and followers video posts on their timelines over photo and text posts. Because of this, uploading a video of the property to Facebook will get your property more exposure than simply posting a photo. Finally, a great property video can help you win more listings in the future; homeowners who are looking for the best service will be impressed with an agent who goes above and beyond.
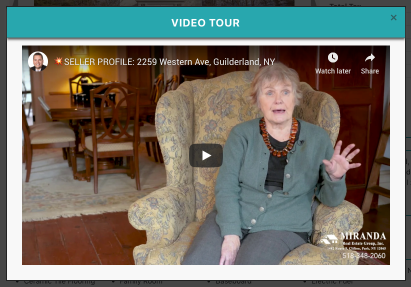
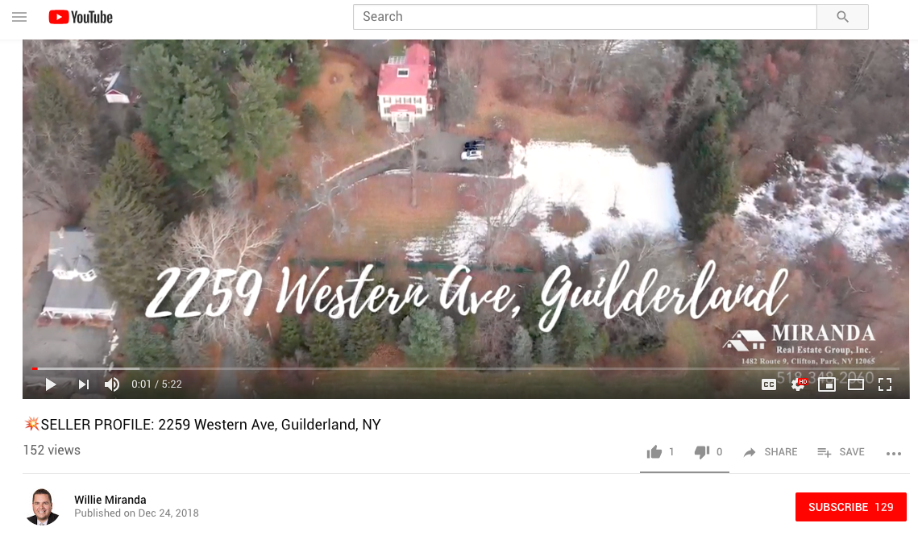
You know why you should be adding a video - here’s how. We loved this video from our member Willie Miranda, who used his video to have his client discuss the history behind the home, so we’ll be using it as an example.
1. Take the Video
You have a lot of options for this step. Our example video is beautifully produced, but creating a video tour of your listing doesn’t have to be expensive. An iPhone camera, a steady hand, and you or your seller presenting your favorite aspects of the home as you walk through can be all you need for an engaging video.
2. Upload the Video
Video Tours posted on our MLS play directly on the listing page, without the potential buyer being directed away from the listing page (and your contact information). To do this, your video needs to be on YouTube. It’s simple and free to create an account, then upload your video.
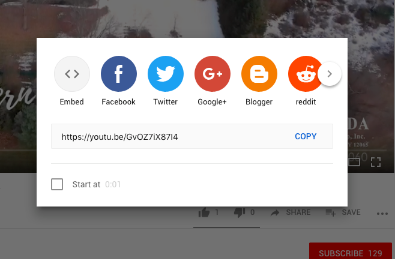
3. Get the Link
We add your Video Tour to your listing using a link. To find the link to your video, click the “Share†button below the video, then copy the link.

4. Add Your Video
In the Listing Wizard, simply paste the link to your video directly in the “Video Tour†text field, then save the listing. If this listing is already live or in your drafts, you can access the Listing Wizard by clicking “Edit†and then “Run Wizard†at the top of the page.
5. View Your Listing
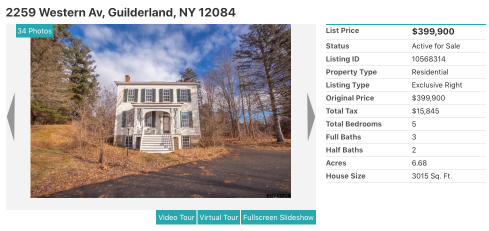
Double check that your video is displaying properly by clicking “Video Tour†under the photos of your listing, and you’re all set!
Looking for an MLS that does more?
What to Read Next